The Ultimate Guide to Canva Features + How to Use Them in 2021
Canva takes the cake as one of our all-time favorite graphic design tools. Its user-friendly interface makes it the perfect go-to for small business owners (really, anyone) to create graphics for all different aspects of their business. Instead of having to use a super robust software like Adobe, Canva gives you all the best features wrapped up in one platform that’s available on desktop or the mobile app.
Even though it’s designed with the average user in mind, you face a learning curve with any tool or software. So today, we want to give you a complete walkthrough of Canva features inside the builder, plus how to use them!
(We’ll be mentioning features that are only available for Canva Pro users, indicated by an asterisk so you can easily tell the difference.)
The Sidebar
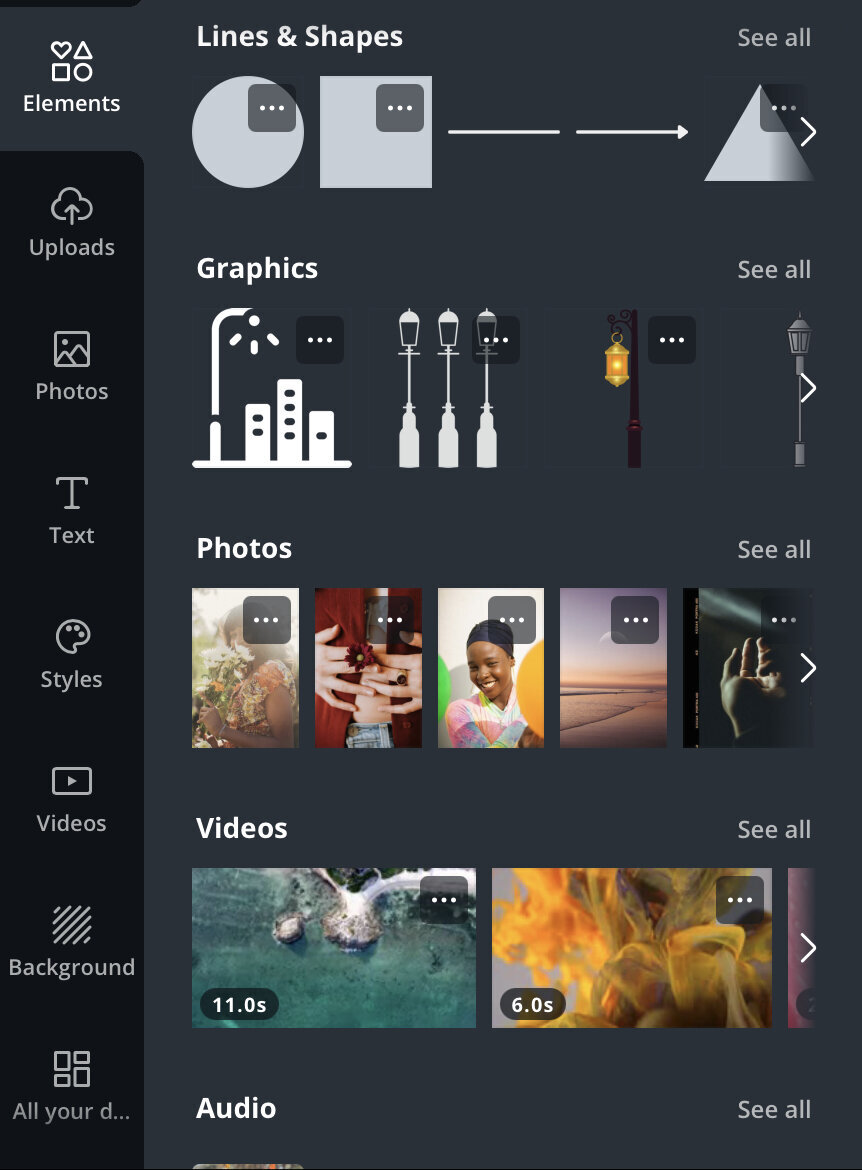
When you first open up a new file in Canva’s builder, the sidebar is the first place you’ll go to start adding elements to your design. Here, you’ll find:
Templates
Elements
Uploads
Photos
Text
Styles
Background
Folders
Audio
Video
Charts
Apps and Integrations
TEMPLATES
Canva gives you a large selection of pre-designed templates for you to choose from depending on the dimensions of your design. If you select Instagram Story as your design size, the templates displayed will be for Stories, etc.
Of course, we can’t talk about templates without mentioning The Creative Template Shop, too! We drop 4 new templates per month, plus a strategy-based bonus. Almost all templates are for Canva, so they can be easily customized with a quick switch of colors, fonts, and photos to match your branding. You can check it out (and become a member for only $47/month) right over here!
ELEMENTS
This is probably where the bulk of your design content will come from because elements house everything from shapes to frames to charts to graphics, and more. You can also access stock photos, video, and audio here without having to visit the tabs for those. There are also GIF stickers for you to use to give static designs a little more life.
UPLOADS
You can upload your own elements, photos, videos, and audio to use in your designs! So, add your logo in graphics or a headshot in your PDF portfolio– whatever you upload, you can use.
Pro-tip: If you upload a file as an .svg, you’ll be able to change the color of it within Canva like you would a regular shape. This could be useful if you want to customize the color of your logo for different designs instead of having to upload multiple logos of different colors, for example.
Uploads also includes a new feature that recently rolled out for Canva Pro users where you can record yourself inside of your file showing what you’re designing. If you need to record a tutorial for a client, a friend, or a course lesson, this feature would be an amazing alternative to using a screen recording tool.
You don’t have to worry about storage either, as Canva gives you 100GB of cloud storage for your designs and uploads!
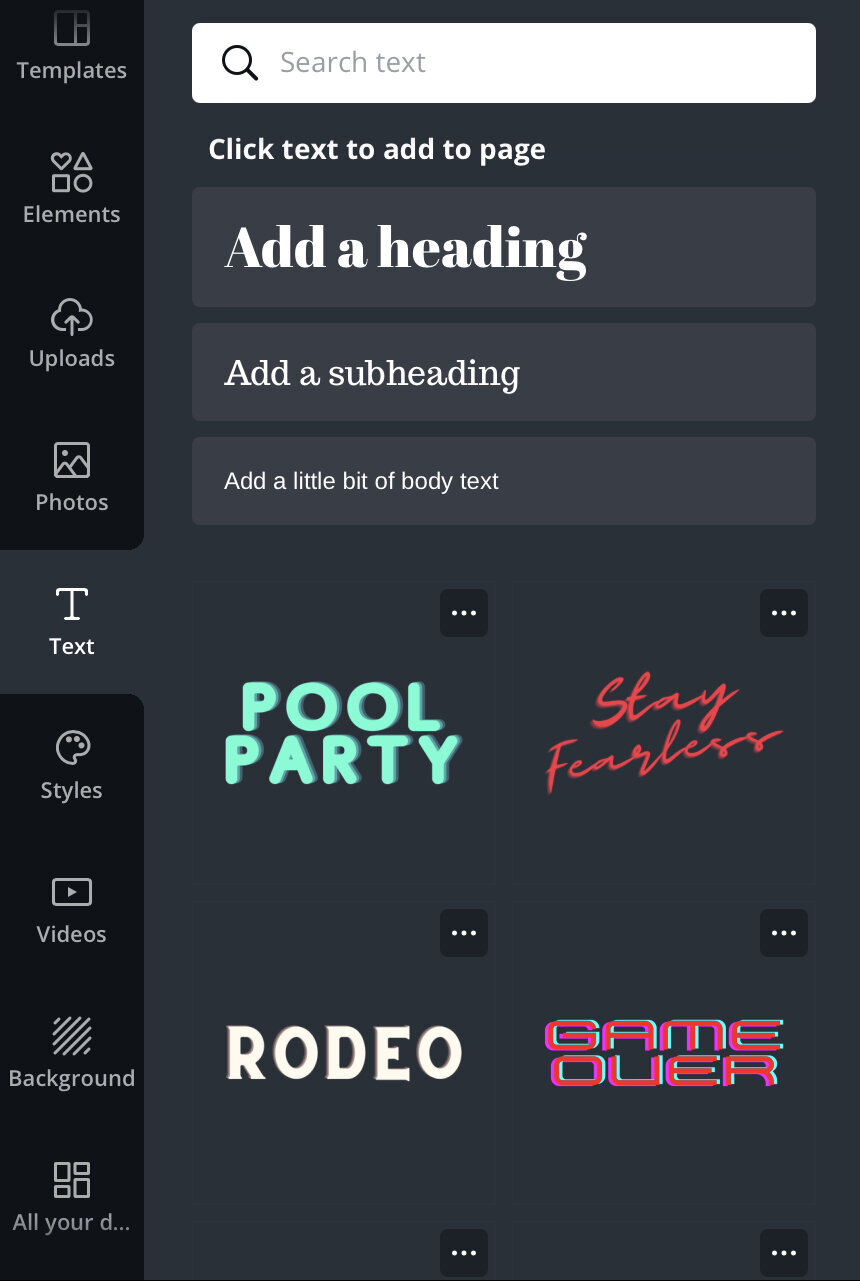
TEXT
Text is just as it sounds– Add text boxes to your designs. Canva has a wide range of various fonts for you to choose from, and you unlock more with a pro account. You’re also able to upload your own fonts*, so you can have access to your brand fonts if they aren’t already on the list of fonts Canva has available. You can upload them in your Brand Kit*, which we’ll talk about later.
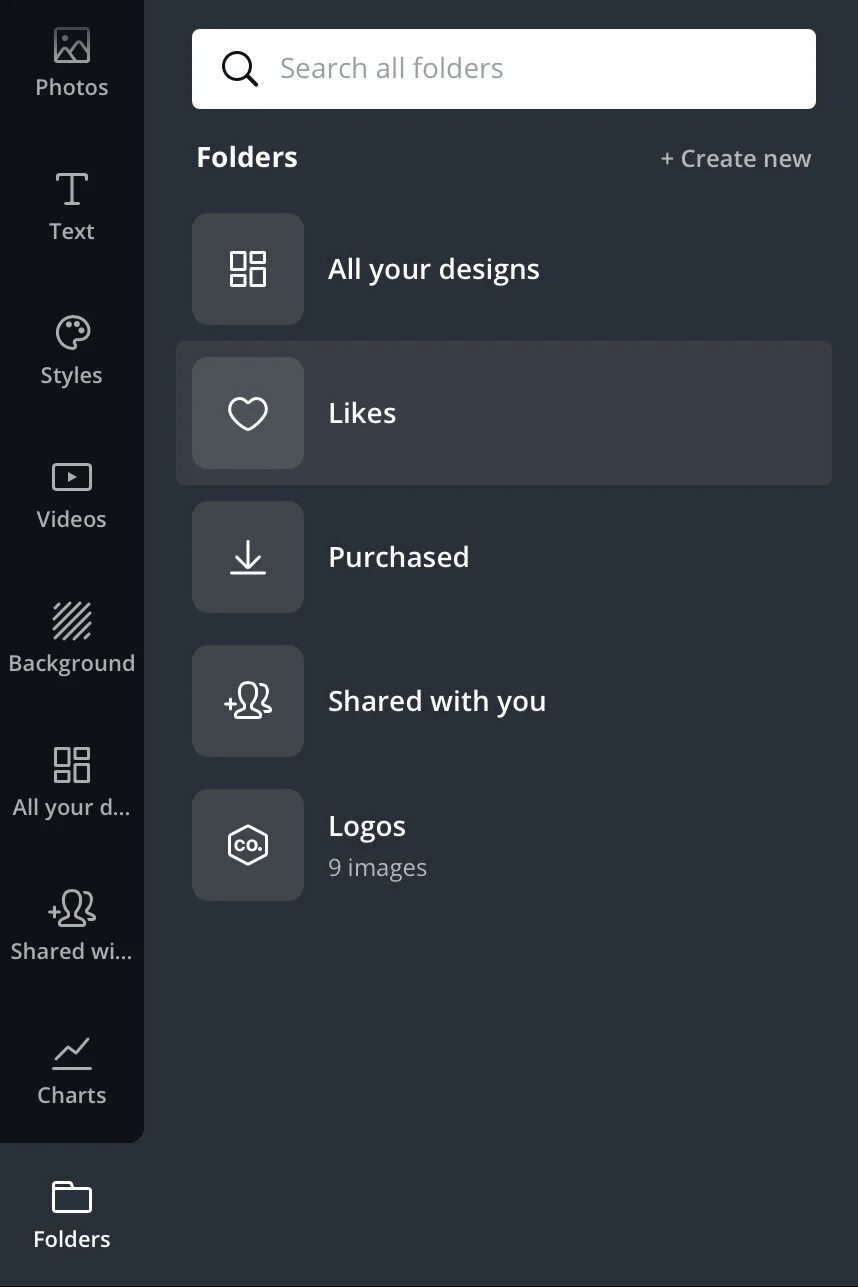
FOLDERS
The folders tab is where you’ll find:
All your designs - Open pages from other designs in your current file
Likes - You can “like” elements, shapes, photos, etc. and have them stored in your Likes folder
Purchased - Images purchased with a multi-use or extended license will appear in this folder
Shared with you - Any templates or designs that have been shared with you directly or through a link
Logos - The logos that you add to your Brand Kit will appear here
You can create multiple folders for different uses as well to keep all of your content organized. Aside from just images or elements, you can also save designs in folders. So if you’ve created certain templates, you can save those files in a folder for easy access when you’re creating those designs again. You’re also able to share folders with others via their email address.
STYLES AND BACKGROUNDS
The styles tab gives you different combinations of fonts and colors to use in your design. A cool thing about this feature is that if you’ve already created a design and you select a style, everything in your design will change to reflect that. You’re able to shuffle the style until you land on the color combo you prefer.
Backgrounds is just as it sounds: Different patterns to use as a background to your design. You can choose from landscape photos, gradients, patterns, abstract, food, textures, flowers, and nature. (Or if you have your own branded patterns, just create a folder for them!)

PHOTOS, VIDEO, AND AUDIO
Canva has over 75+ million* premium stock photos, video, and audio for you to choose from. You can access these either from their respective sidebar tabs, or within the Elements tab.

The Design Tools
Some of the tools and your editing capabilities on the top bar of the file screen change depending on what content you have selected, whether it’s a photo, video, shape, text, graphic, etc. We say “some” because the right side of the bar stays pretty consistent unless an option doesn’t apply to the content you’ve selected. Here’s what’s on the right side:

In the order of left to right, you’ll find:
Position - Move content forwards or backwards and align content to the top, bottom, middle, center, left, or right of the page
Paint roller - When you have content selected, click the paint roller icon to copy the style, then click the content you want to paste the style to
Opacity - Adjust the opacity of what you have selected
Link - Add links to just about any piece of content in the design except video
Lock - Lock content in place so that it isn’t able to move or be selected
Duplicate
Delete - When you have items grouped, you can choose to either delete the whole group or just the initial item you clicked on
(Not pictured) Group - You can select multiple items and group them together so that you can move them all at once
As for the tools on the left side, these are the ones that will change. When you have text selected, you’ll find the same tools you would if you were typing in a word document, the only difference being that you can animate, add effects, and adjust the opacity.
With shapes, you’re able to change the color and animate them. Photos you can add effects, animate, filter, adjust, crop, and flip. Videos you can trim, crop, flip, and animate. Graphics you can adjust all colors in the graphic, crop, flip, and animate.
Page Options
Each page of your design has some simple tools, too.

Add a title - This is really useful if you’re saving all pages at once. Instead of the individual file names being numbered, they’ll be whatever title you gave them.
Arrows - Move the page up or down in the document
Duplicate the page
Delete the page
Add a new page directly under the selected one
When you have content selected, you can also add comments or mention other team members as well.
The File Menu
The blue/purple gradient bar at the very top of the screen is your file menu, and there are different options on the left and right sides.

When you click File, you’re able to:
Rename your file
View the size dimensions
Create a new design
Toggle to show rulers, guides, margins, or print bleed
Manually save (Canva automatically saves after each change)
Save the design to a folder
View resolved comments
Browse previous versions of the file (A literal lifesaver if you need to go back to a previous save)
Make a copy
Download
View help articles
The Resize button allows you to do exactly that, but you can either copy your design and resize it in a new document, or resize the existing file you’re in.* There are forward and backward arrow buttons beside that, allowing you to undo or redo changes.
On the right side are the options that have to do with publishing your design.
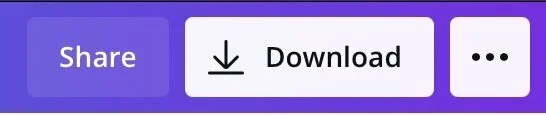
You can share it with others by sending an invite to their email address or copying the shareable link. There are three different options for sharing– either for the purpose of editing, watching, or using as a template.*
When you click to download your design, that opens another plethora of options as well. As far as file types, you can download as a:
PNG
JPG
PDF (standard or for print)
SVG*
GIF
MP4 (if there’s video in your design)
When you download as a PNG, you also have the option to save it with a transparent background.*
The Footer Menu
At the very bottom of the document, there’s a bar with some super simple yet very functional options.

Notes serve as presentation notes that will display if you’re recording a presentation (You don’t have to the standard presentation dimensions in order to present)
The slider is an easy way to zoom in and out. You can also click the percentage on the right of the slider to fit or fill the screen, plus choose default percentages
The page icon has a number in the middle that tells you how many total pages your document contains. If you click this, it shows all of your pages in a grid format for you to easily find certain pages, add new ones, drag around to rearrange, multi-select, duplicate, and delete.
The two diagonal arrows will switch to full screen mode
The question mark displays help articles
Explore the Possibilities
Now that you know the function of each tool and option in Canva’s builder, now all that’s left to do is explore the infinite possibilities! Play around with different effects, animations, elements, etc. to make your graphics stand out. Before you know it, you’ll be a Canva pro.
Speaking of pros, if you want to see what Canva Pro is all about and get access to so many different amazing features, head here to get your first 30 days free!