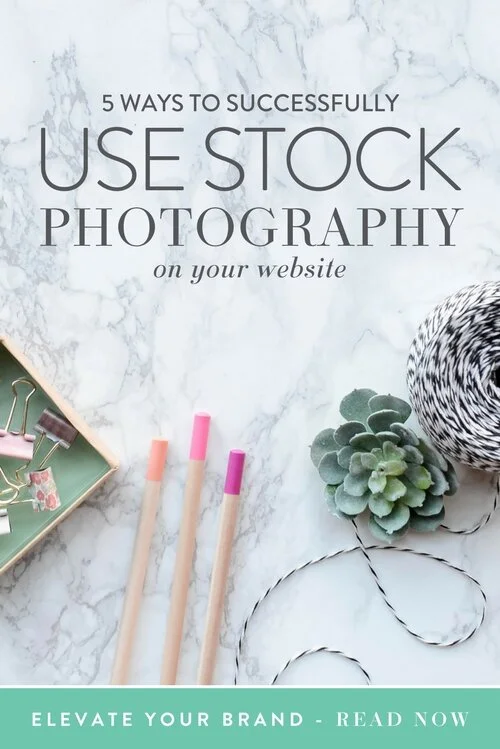
5 Ways to Successfully use Stock Photography on Your Website
Many of my website design clients aren't photographers, but they know they need great photos to make their website design pop. The trick isn't finding stock photography (it's all over the internet), but finding the right stock images and making them work for your website.
Here’s the thing: if you use the wrong images on your website, you’re going to run into problems like:
Seeing the images you chose pop up everywhere.
Having a website that doesn’t fit your brand.
Spending money on something that you won’t use long-term.
Getting into legal trouble because you didn’t follow the rules.
And none of those things are what you want to deal with. After all, you’re just trying to grow your business, create amazing content, and serve your clients.
Of course, you could invest in some great custom stock photos, but if you aren’t at that point yet – for whatever reason – then stock photography is a great way to create a beautiful online presence that fits your brand and business.
Here are five ways to SUCCESSFULLY use stock photography on your website:
1. Start with the Design
Always start by designing your website before investing in any kind of images. Think of it this way: your website is the house you’re building and the images are the décor inside – they make a big difference, but they aren’t going to determine what your website looks like.
Whether you’re DIY-ing your website or working with a designer and developer, let the design dictate everything else. This will help you in your search for images because you’ll know exactly what to look for.
Once you’ve worked on your design, you’ll know things like:
Image size
Image orientation
Types of images
Once you have the design in place, it’s much easier to narrow down your search and find the right images for your website. Maybe the flat lays you love on Instagram aren’t right for your header because they won’t convey what you need them to. It’s better to know that before you’ve spent any money.
You also want to consider which images will be overlaid with text for graphics and which will stand alone to add personality.
2. Choose the Right Photos
Choose stock photos that fit your brand colors and style.
Instead of choosing images that look great, but don’t fit your brand, start your search with your brand in mind. Then, even if you find other beautiful options, you won’t be tempted to spend your hard earned money on something that won’t work for your business.
Even if you’re using a stock library, don’t try to use every image available. They may be beautiful, but if they aren’t on-brand, you’re going to confuse your audience and make your website less inviting and streamlined.
And now for the not-so-fun legal stuff:
Make sure to double (and triple) check the usage rights to the images you’re buying. You want to make sure that you can use them on your website to promote your services, and you need to know how you need to give credit to the photographer.
You will also need to know what types of edits you can make to the images you choose (such as cropping, adding overlays, adding your own products, or changing or removing items) and where you can use them (social media, website, opt-ins, webinar slides, etc.).
Each photographer and website will have different guidelines and restrictions, so make sure you’re familiar with them so you won’t run into legal problems in the future. (Just a tip: keep the receipt after you download your new image so you have it for future reference.)
If you’re working with a designer to find these images, make sure that the correct person purchases them. If your designer purchases your image, they may or may not be allowed to transfer ownership to you. If you want to own the rights to use an image in more ways than just on your website, you may need to purchase it yourself so that you have that ability.
3. Customize Your Images
You can make even stock photography unique through overlays, added text, and cropping (as long as you’re following the rules).
Here are some fun ways to add interest to your images and make them stand out:
Add an overlay in a brand color.
Add text to create fun graphics or pinnable images.
Crop your image in a variety of ways to get multiple uses out of it.
Add your own products to the image to show off your work.
By using these techniques with your stock photographs, you can create images that people will recognize as yours without you having to take the photos yourself. This is also a great way to get the most out of the images you’re investing in so you can buy less, but still have just as much flexibility.
4. Get Some SEO Going
Prep your images for great SEO so that they can help people find you online.
Usually, stock images will have names that reflect the company or photographer they are from. After you purchase and download an image, be sure to rename it to something SEO friendly before adding it to your website (because having an image name that references where you got the image won't help your business).
You can also add some SEO juice by adding keywords and keyword phrases on the back-end of your website and by adding captions or alt titles. This works differently on each website platform, but you should be able to find tutorials to guide you. (In Squarespace, you can add a caption to your photo and then hide it to get the SEO without having a caption below your image.)
5. Add in Some of Your Own Images
By mixing stock photography with your own images, you can create a unique look that no one can copy.
Even if you’re a photographer or have great images from past projects, you can use stock photography to spice up your image library and get some great on-brand images that you don’t have to take yourself.
Stock images are really versatile and you can use them in a lot of places on your website:
Banner images.
Backgrounds for sections you want to highlight (in Squarespace, you can do this through creating Index Pages).
Blog graphics.
Links to other pages on your website.
In your content library or shop to show off your work.
On social media to tie everything together.
And if you aren’t a photographer, but you can’t invest in a full brand photoshoot yet, stock images are a great way to round out your visuals and supplement those images that you do have. This is especially helpful if you want to include more human elements on your website (such as hands or a body), but don’t have images of yourself that will work. Of course, you should still have a professional, branded headshot to use on your website and across social media so people know who you are.
My Favorite Places to Find Stock Photography
There are a lot of great stock photography resources online, both free and paid. Each site works differently, but if you take the time to look through what’s available, you can find something that will work for your budget and your brand.
For stock image libraries:
Turquoise and Palm
For one versatile image or a small collection:
SC Stockshop
For free images:
If you decide to use a website like Shutterstock, be sure to check the usage rights for each image, as they can vary based on the photographer and image type.
And there you have it! I hope you now have a better idea of how to choose and use stock photography on your website to create a beautiful online presence that supports your growing business.

ABOUT THE AUTHOR
Samantha Mabe is the owner and designer at Lemon and the Sea. She loves empowering creative women with a heart to serve to grow their business through brand and website design. Her background is in design and architecture, but she’s been creating since she could hold a pencil. . Samantha is a Pittsburgh native now living in Richmond, Virginia where she spends her days designing brands and websites and her evenings watching Netflix with her husband and their dog #gambittheweshi.
Samantha Mabe, Lemon and the Sea
Website | Instagram | Facebook